Description of the issue
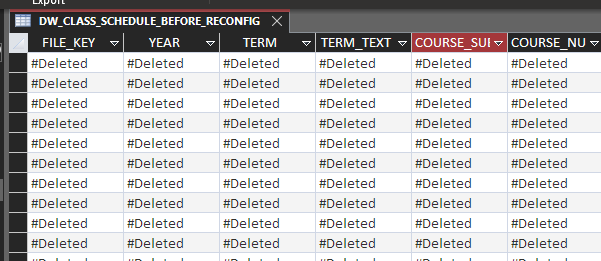
When a Microsoft Access database uses linked tables to connect to one of Davidson's Oracle databases, an issue sometimes occurs where cells in the linked table in Access will appear with the value of "#Deleted."
No, those pesky kids didn't get a hold of your data and replace it with Twitter hashtags. You've just fallen victim to a quirk of how certain data types can be translated from remote databases into Microsoft Access. This usually only affects a few tables, but this can become a persistent problem with Access. So, in this article, we'll show you how to remedy this issue if it occurs.
How to fix (Windows)
Good news: there is a relatively easy fix for this issue.
Bad news: it will require you to delete the linked table from your Access database and recreate it from scratch.
Please complete the following steps:
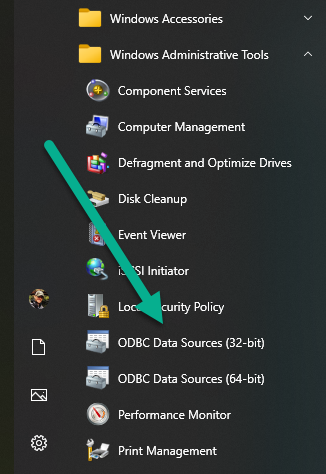
- Open up your ODBC data sources in Windows, find your ODS data source, and click the Configure button. To get to the ODBC Data Sources, you can either use Windows search (Win+S) or open your Start Menu and look under the folder named "Windows Administrative Tools."
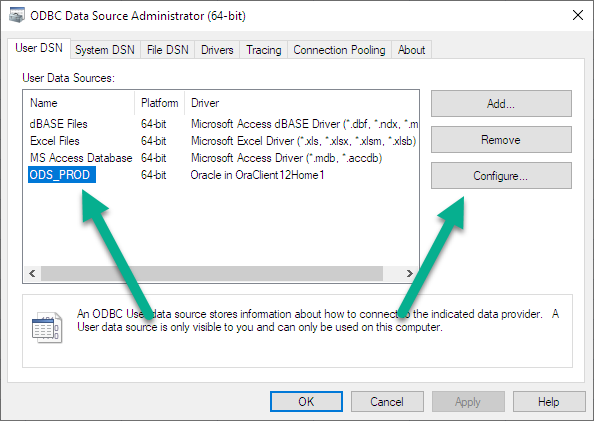
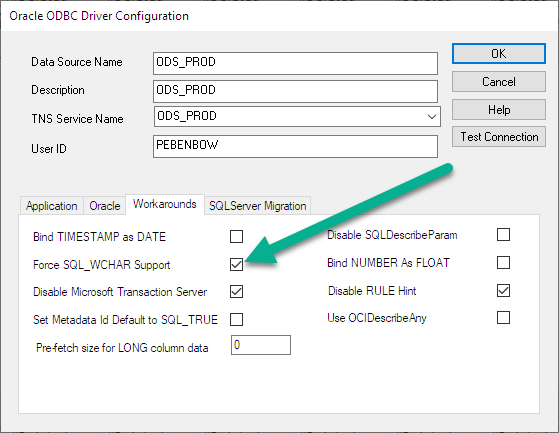
- In the ODBC Data Source Administrator, find the data source named either "ODS_PROD" or "RPTDB_PROD" (they both point to the same server) and click the Configure button.
- In the configuration window, go to the Workarounds table and enable the option to "Force SQL_WCHAR Support", then click "OK."
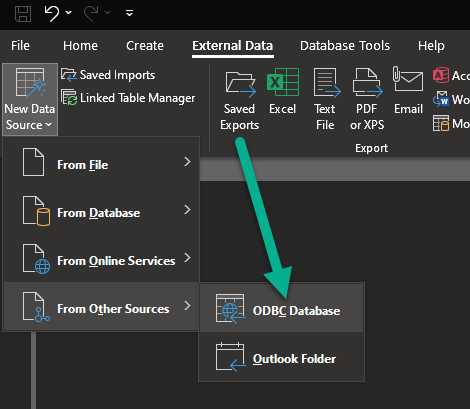
- Now return to your Access database. You will need to delete your original linked table and replace it with a brand new one. To do so, go to the External Data tab, then click the menu for "New Data Source" and find the option for "ODBC Database."
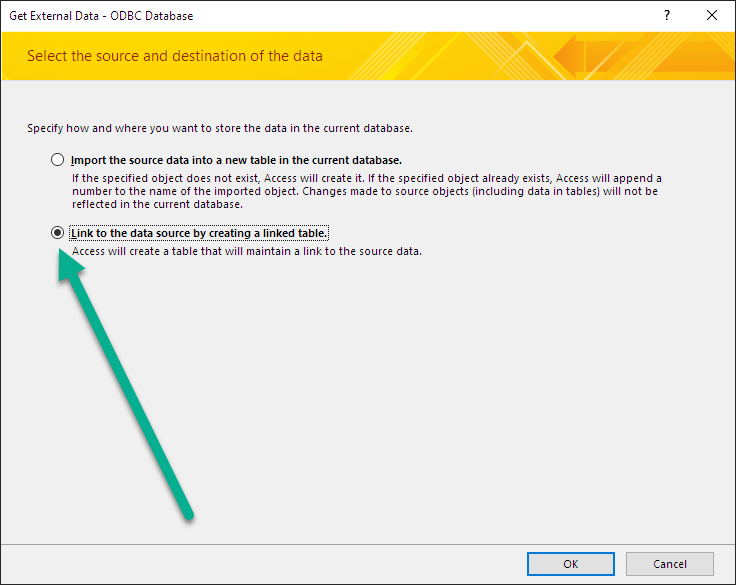
- On the "get external data" wizard, choose "Link to the data source by creating a linked table" and click "OK."
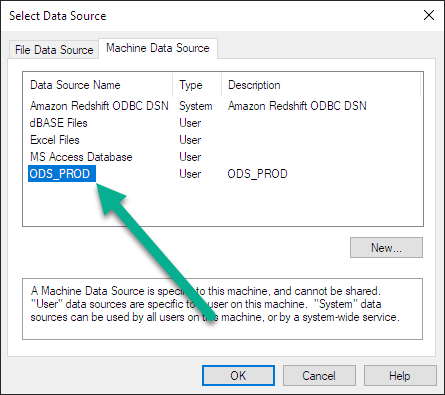
- When Access prompts you to select a data source, choose the ODS_PROD or RPTDB_PROD data source that you reconfigured in steps 2 and 3 above, and click "OK."
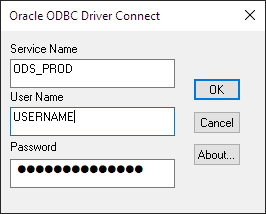
- When prompted, enter your Banner username and password and click "OK" to connect to the database.
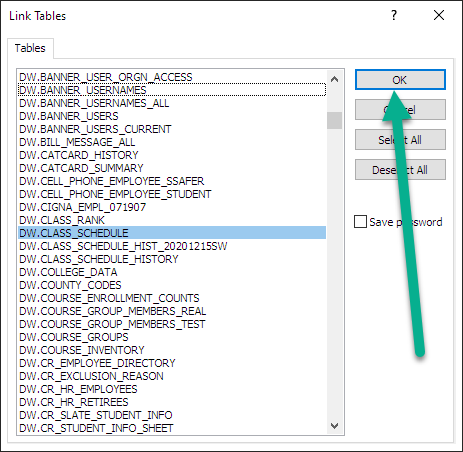
- When the list of tables appears, find your table, left-click to select it from the list, and click the "OK" button to link it to Access.
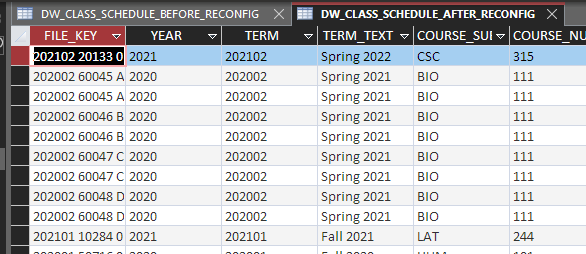
After completing these steps, the new linked table should appear in your Access database, and all the data should be visible.
At this point, it is recommended to DELETE the old broken table and rename your new table with the exact same name as the old table so that any dependent queries, forms, and other objects in your Access database will not break.